
Counted Cross Stitch: What Is It?
This guide focuses on what's known as 'counted' cross stitch. It means you'll be stitching onto a blank piece of fabric while following a chart, and counting to place each stitch in the right spot. This is different from printed or stamped cross stitch, where the design is already marked directly onto the fabric and you stitch over it.
All NeedleLot Designs patterns are counted cross stitch patterns.


Cutting Fabric
Before you begin stitching, it's important to figure out how large your piece of fabric needs to be. Your pattern will include dimensions and size details based on your fabric count - make sure to cut your fabric large enough to fit the design comfortably, with plenty of margin to spare. I recommend cutting your fabric 8in/20cm larger than the stitched area. This makes stitching much more comfortable and makes framing your project a lot easier once you're finished!

Other Necessities
Needle
Perhaps unsurprisingly, you’ll need a needle for your cross stitch project! For this craft, a blunt-tipped needle is best, since you’ll be using perforated fabric and want to avoid creating new holes (plus, not stabbing yourself as often is a nice bonus). This type of needle is called a tapestry needle. A size 24 or 26 tapestry needle suffices for most cross stitch projects.
Bobbins
When juggling many colors for a project, it can become difficult to tell which color is which without some form of labeling. Bobbins come in handy here: These are small wooden, plastic, or cardboard cards that you can wind your threads around. Each bobbin can be marked (with pen or sticker) with the corresponding thread number. They’re typically stored in specially designed boxes that let you sort your thread by color or number. In my opinion, this form of organization makes stitching a breeze!
Scissors
For this craft, you’ll want to own at least two pairs of scissors: one small pair for cutting threads (in my experience, the smaller the better!) and a large pair of scissors for cutting fabric. Be sure to tell your loved ones it’s a crime to use either pair for anything other than thread or fabric because sharpness is crucial!
Embroidery Hoop
Embroidery hoops have one job: keeping your fabric taut whilst you stitch. It's not a required tool - plenty of people find that they enjoy stitching 'in hand' just as much. If you do want to work with a hoop however, look for one that's high quality and meant for stitching rather than displaying. Many stitchers enjoy the popular Nurge hoop.
Onto The Actual Stitching!
Below I share with you how to do cross stitch, as well as techniques and hacks for creating beautiful work that you're proud of!


Starting & Ending Your Thread
When you start your first stitch, your needle will have a loose tail of thread hanging from the back of the fabric. To prevent it from slipping through, you’ll need to anchor it. There are a couple of simple ways to do this. One option is to tie a small knot at the end of your thread so that it stays in place. This works fine, especially for beginners, but some stitchers prefer a neater method called a loop start. The loop start method only works when you’re stitching with two strands of thread. Instead of cutting two separate strands, you can cut one strand that is twice the length you need, then fold it in half. Thread the two loose ends through your needle, leaving the folded end as a small loop. When you make your first stitch and bring the needle to the back of the fabric, you can pass the needle through that loop to secure the thread. No knot needed!
Once you’ve got a few stitches in place, another reliable method of securing your thread is to run your needle and thread underneath the stitches on the back of your work. This is a clean and secure way to anchor both starting and ending threads.
Finishing & Care
Finished cross-stitch projects are usually easy to care for, but if you want to keep them looking beautiful over time, giving them a gentle wash can help. As you stitch, fabric and thread absorb oils from your hands, and even if they aren’t visible, these oils may cause yellowing over time. To prevent this, soak your finished piece in lukewarm water with a mild soap, gently rub over the stitched areas, then rinse and lay it flat to dry. Once your project is dry, you can move on to ironing and adding the final touches. Just be sure to check that your fabric and threads are colorfast before washing so that the colors don’t bleed!
Cross stitch opens up a world of creative finishing possibilities! While framing and hanging your work is always a great option, you can also mount your piece on foam board for a polished look, or turn it into something functional like a plastic canvas bookmark, a keychain, or a project bag. For a more traditional display, a wall hanging (such as this twig banner) or bell pull is a beautiful choice. You can even stitch directly onto everyday items like clothing, towels, or tablecloths to add a personal, handmade touch. The possibilities are endless!

Beginner Cross Stitch Patterns
-


Rays of the Deep - PDF
- Regular price
- €7,25 EUR
- Unit price
- per
-


Lost Flower Blade - PDF
- Regular price
- €7,25 EUR
- Unit price
- per
-


Nessie - PDF
- Regular price
- €7,25 EUR
- Unit price
- per
-


The Friend Tarot - PDF
- Regular price
- €7,25 EUR
- Unit price
- per
-

-


Mothman - PDF
- Regular price
- €7,25 EUR
- Unit price
- per
-


-
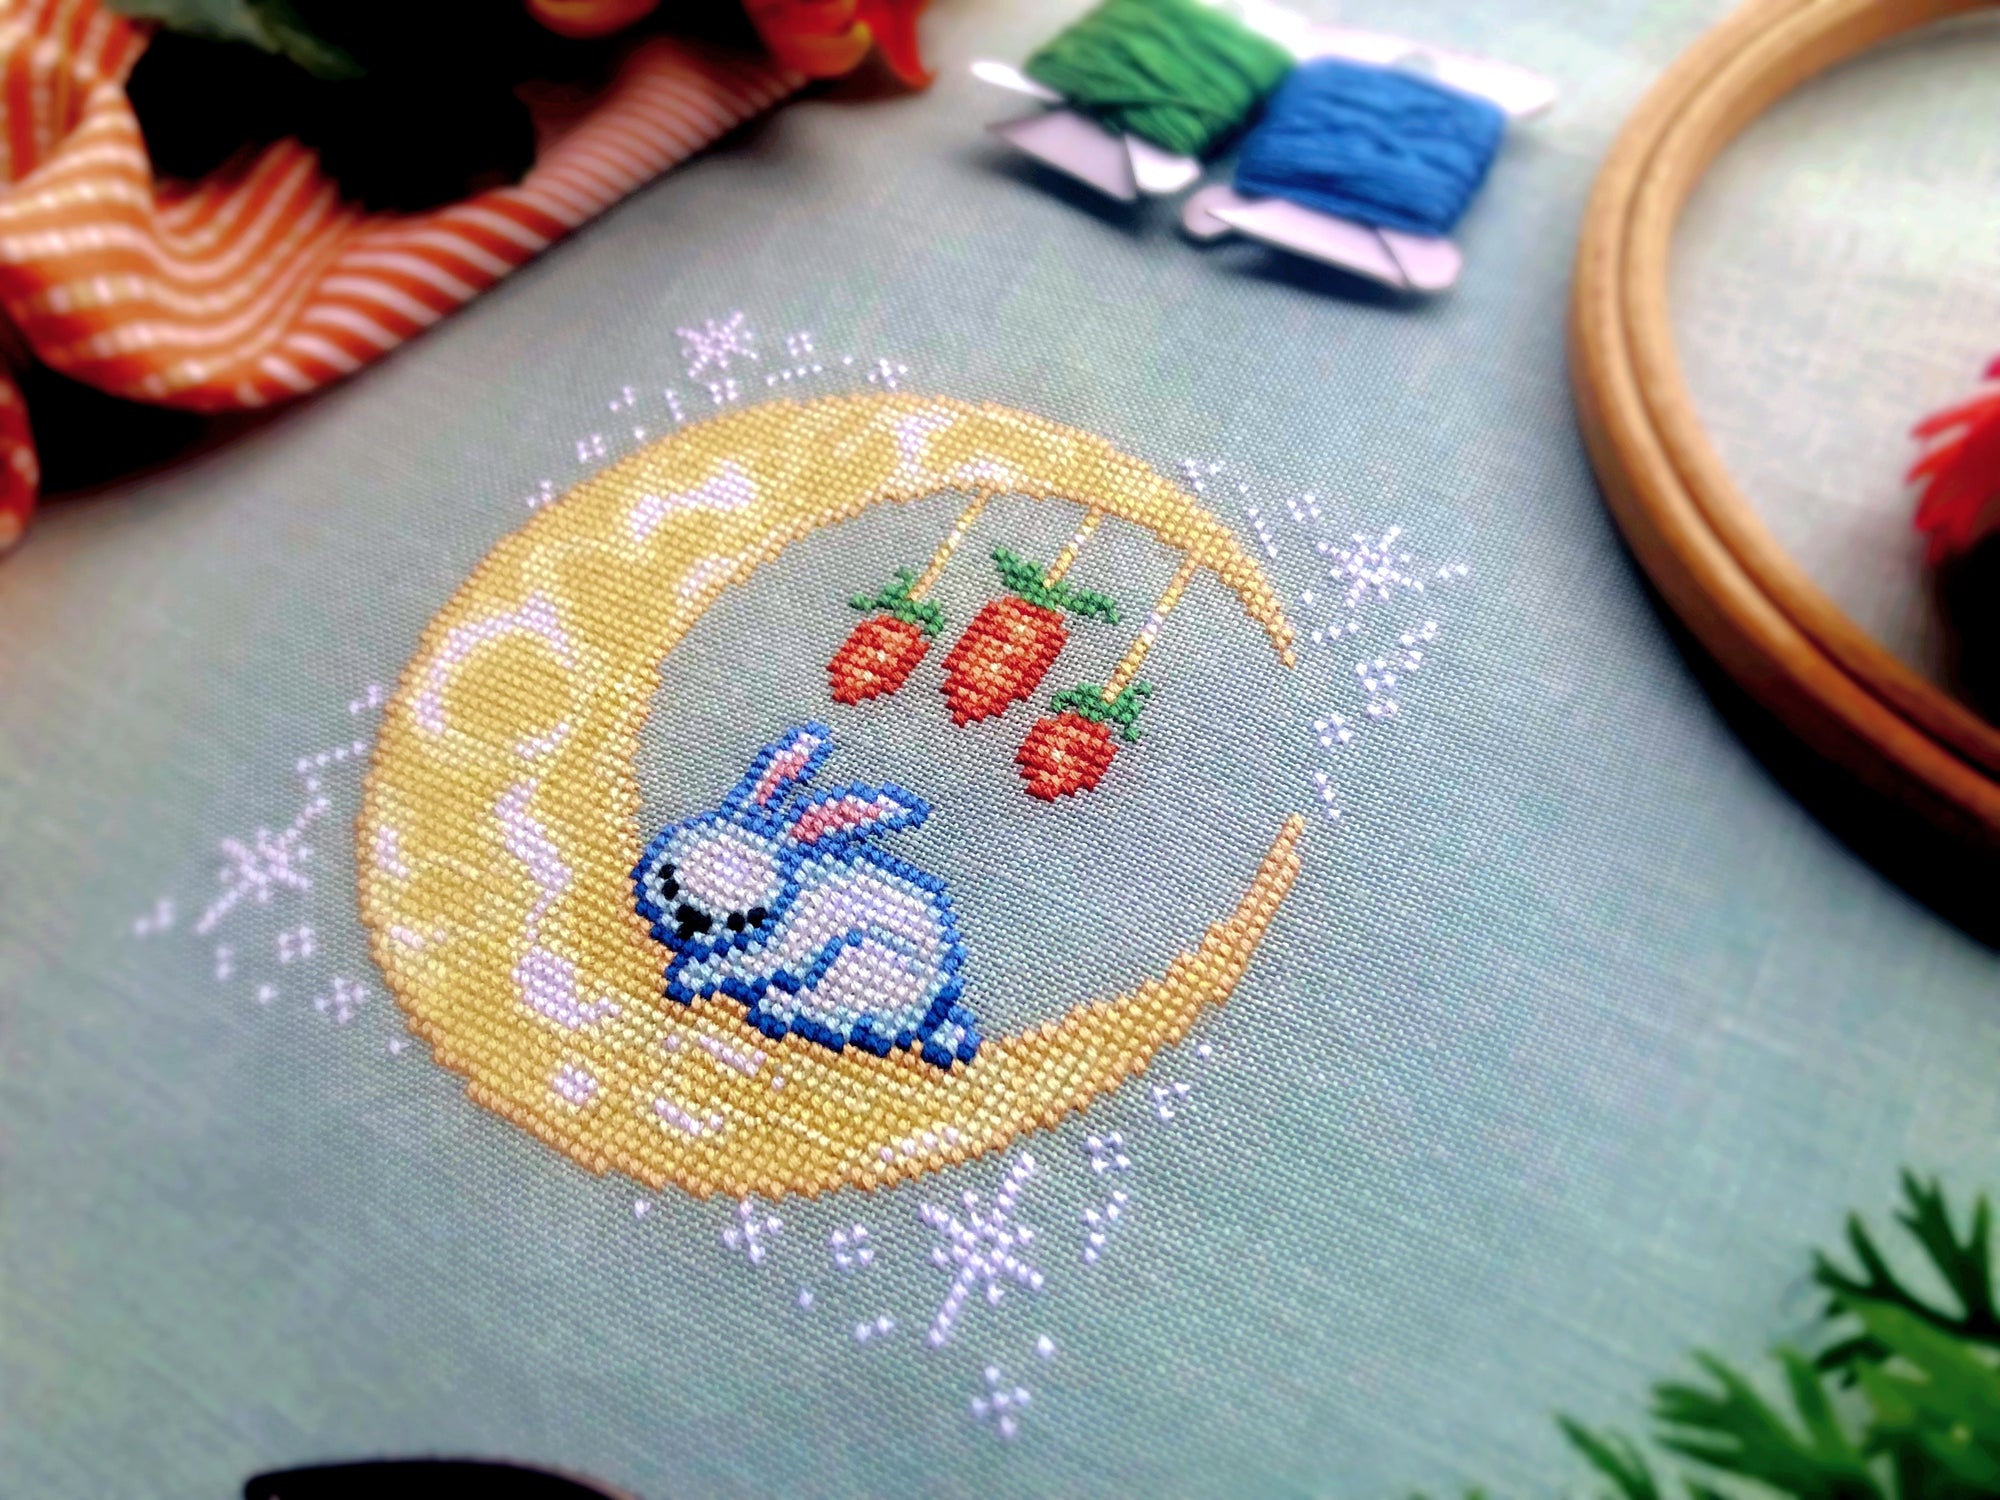
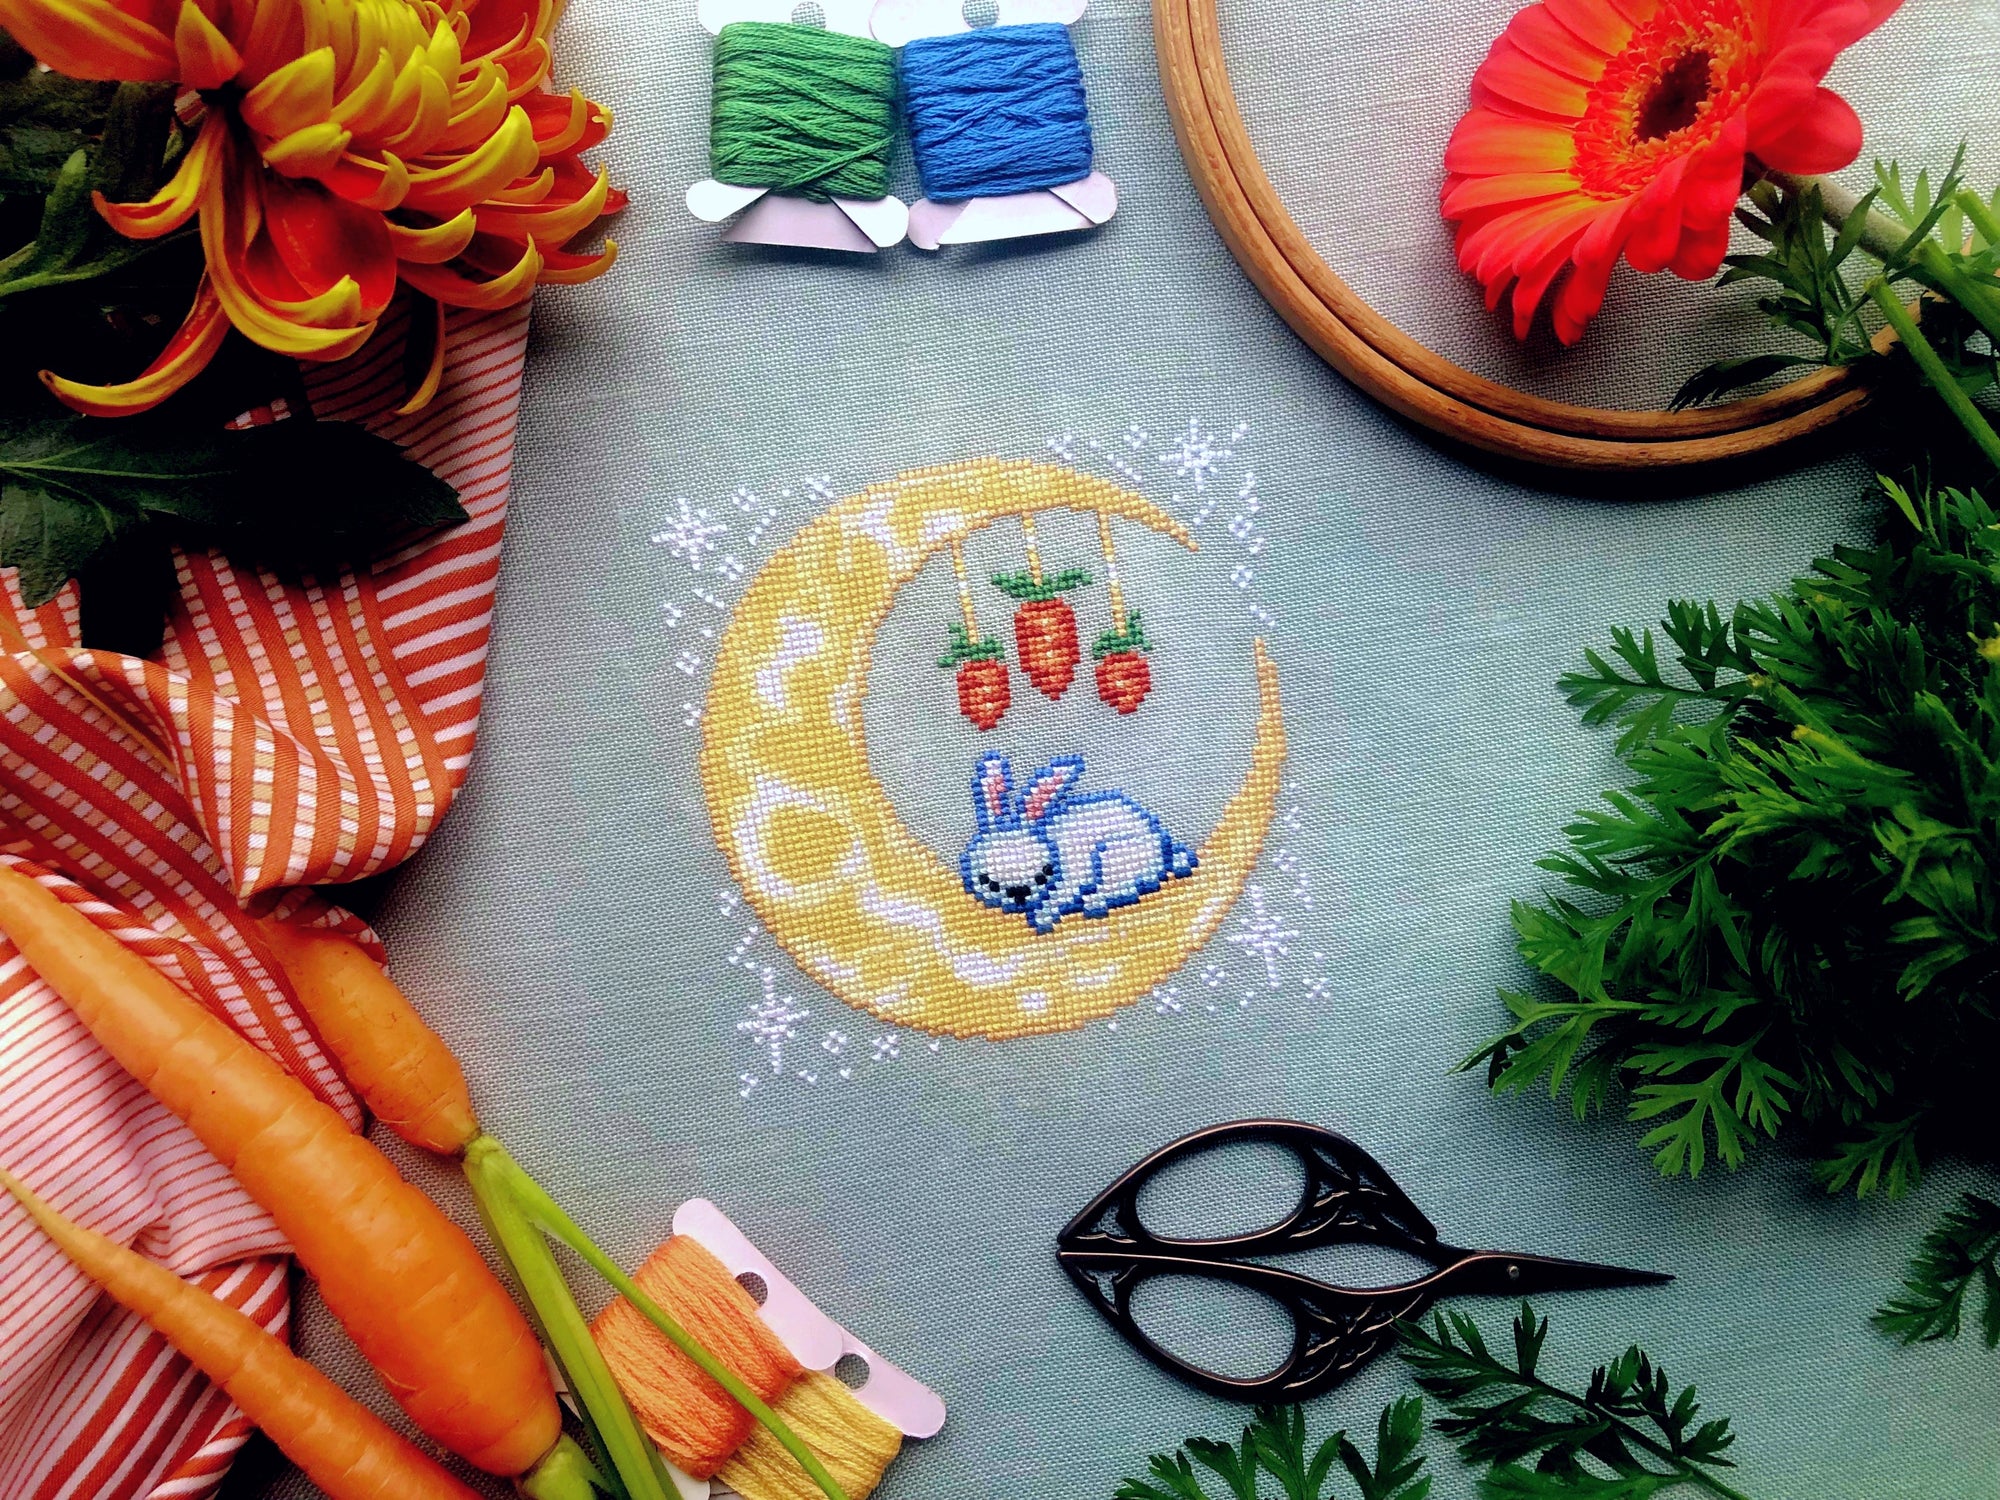
Dreaming of Carrots - PDF
- Regular price
- €7,25 EUR
- Unit price
- per
-


Catstronaut - PDF
- Regular price
- €7,25 EUR
- Unit price
- per
-


Rainy Days - PDF
- Regular price
- €7,25 EUR
- Unit price
- per


